 A School Library Website is our most valuable online presence. We may have a blog, social media accounts, and resource links on proprietary services, but none of these will serve our students and our community—nor advocate for the school library—the way a School Library Website can.
Creating any website happens not with the tips of the fingers, but in the depths of the brain. It isn’t the result of fancy software, but rather of good planning. School Librarians aren’t professional Web designers, so here are 6 recommended steps to create a great School Library Website.
1. ESTABLISH AN IDENTITY & USE IT CONSISTENTLY
Viewers should know exactly who we are, and after following a link, should know that they’re still within our school library website. That doesn’t mean every page looks the same, but identifying characteristics are consistent throughout the site.
Decide on a theme to clearly convey our identity: the graphics and the color set (an eye-catching combination of colors for images, background, text, and links). School colors, the school mascot, and library-related images—books, the alphabet, numbers—are an obvious, but excellent, theme for a school library website.
Choose the main identifying image and colors for the homepage, and complementary graphics and colors for sub-pages. For example, we could have school mascot images in school colors, then use a light outline of the mascot for a background image. Or, we could have books, singly or in stacks, then use ABCs or Dewey decimal numbers as a border or background.

Flashy graphics won’t help an inconsistently applied theme, so keep it simple and be sure that viewers see “us” on every page of the site.
2. SUPPORT THE NEEDS OF OUR USERS
School Librarians know their users and are responsive to their needs; successful school library websites are the same. Students, parents, and community members visit our site for information about the school and the library: they want to know what’s going on, how we can help them, and how they can get in touch with us.
Provide the school library phone number and all staff email addresses on the homepage, and include our School Librarian email on every page. Parents and students don’t want to click through several pages before they can send an email to us.
Our student requests and parent emails can pinpoint what information to offer on our school library site. We can also ask the school’s phone receptionist what information our community requests most often.
Instead of duplicating existing information, link to District webpages for book searches, online resources, and other district services. Web users know how to use a browser, so insert a short message under the link inviting visitors to return to our page by using the Back button. These intra-district links promote interactivity and support the entire school district. (And relieve us from having to keep them updated!)
Teachers usually have their own webpages for instructional purposes, but we can determine what students may need from the school library to support their classroom learning and provide links from our homepage to that information.
Mapping out what to provide and how to provide it will save time and effort later. All websites change over time, but we want that due to changed user needs, not because the site didn’t meet user needs in the first place.
3. CREATE USER-FRIENDLY NAVIGATION
A school library website provides quick access to information through well-planned site navigation. Our site may start small, but imagine the complexity when we have webpages for information, for instruction, for student projects, and for various programs and activities. By developing a good navigation system now, our viewers quickly get what they need, and we can easily insert new pages of content as the need arises.
Create a site map to organize information, grouped by users or topics. A site map can be a simple outline with sub-pages indented from top level pages, or it can be sets of bullet lists, or we can use a table with colorized cells to identify similar types of pages. Make it easy to add new types of pages so site navigation continues to be user-friendly.
A site map is also valuable for web viewers. It’s like the table of contents or index of a book—it shows what’s there and where. By linking each page of the site map, we provide another navigation tool for visitors.
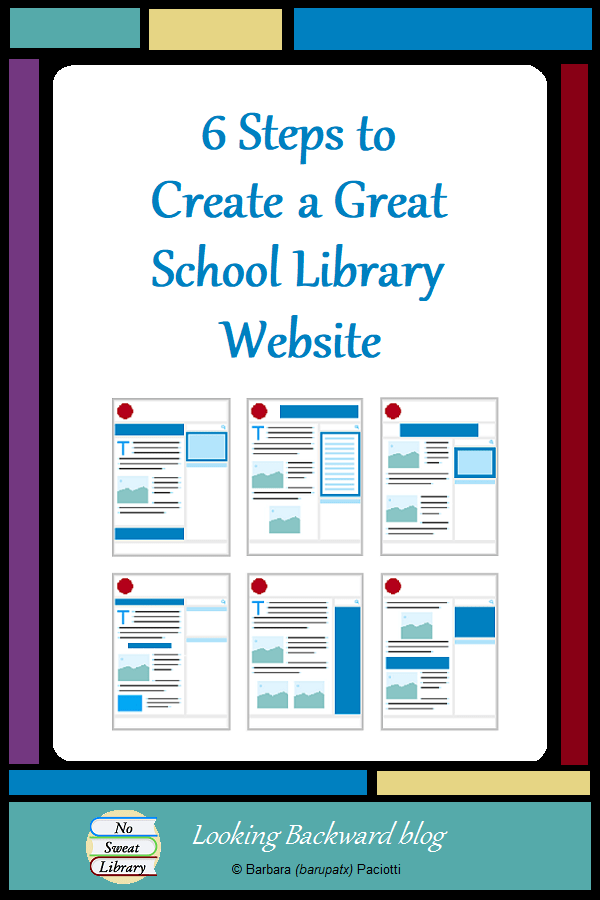
Determine the hierarchy of the website and create page templates for each level of navigation. We might want the homepage to have very few links—10 links is the most we can expect young students to comprehend at a time. For higher grade levels, we can provide more links so students can scan the full range of available information to find a specific piece.
-
click to enlarge
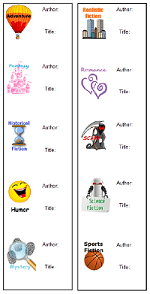
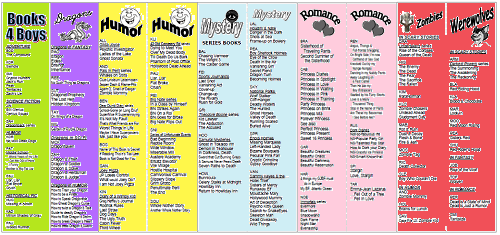
For a school library homepage with few links (1-6) and numerous support pages, create a unique homepage, a different unique template for 2nd-level navigation pages, and 3rd-level templates for each identified sub-group, using the same template for all a particular sub-group’s pages.
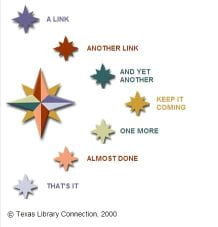
linebreak - For a school library homepage with many links (10+), but fewer links off 2nd-level pages, create a unique homepage and a different unique template for each group of lower level pages. Use a unique icon on the homepage for each link to its 2nd-level page so the distinctive identity of each group is carried through all its sub-level pagesAs an example, school library pages can have books, student instructional pages can have pencils, school events pages can have yellow stars, student clubs can have notepads, parent pages can have apples.

The real test of site navigation is what happens below the homepage. Don’t expect viewers on bottom-level pages to return to the homepage and then re-click through the same intermediate pages. Use a chain of links (called breadcrumbs) in the same place on every page showing the navigation:
Homepage↔2nd level page↔3rd level page↔Current page.
4. LAY OUT PAGES FOR EASY READING
We want pages to catch viewers’ attention so be creative with page layout, but don’t confuse viewers; rather, give them the information they need. The better we do that, the more likely they’ll use our website again and again.
Analyze how text will be most readable: a busy background image would be unsuitable behind a lot of text, and don’t use a dark background and light text color on a page we expect to be printed out.
Here’s a basic rule from print: use margins and empty space for balance and symmetry. Our eyes see empty space as a block, just as we see a block of text or a block image. An eye-catching webpage uses empty space to highlight page elements and enhance readability.
The human eye encompasses about 4″ of text at a time, so text stretching from one edge of a browser window to the other is difficult to read. Blockquote margins make heavy text pages easier to read by indenting sections of text, creating a larger margin on both sides of the page.
 Tables offer enormous variety for page layout. We can adapt an appealing table layout from anyone’s webpage—HTML is open source. One disadvantage of tables is that navigation inside tables may not be readable by machines for the disabled, so provide text navigation at the bottom of each table page.
Size, shape and color of text areas can convey our theme, and highlight or contrast with our images. Text in bright crayon-box colors suggests children, while dark, grayed colors suggest maturity and stability. Just be sure text is easy to read.
Note: A browser displays text in fonts that are installed on the viewer’s device, so use standard fonts, such as sans-serif Arial, Helvetica, or Verdana, or the serif Times New Roman. Since serif fonts don’t display well on computer screens, use sans-serif fonts for small text.
5. CRAFT PURPOSEFUL CONTENT
Viewers come to our school library website for information, and if they don’t get what they need, flash and glitz won’t bring them back. Pack essential information into well-organized segments, and write clearly and concisely; give the what, where, when, why, who and how. Then, cut it in half: our webpages aren’t the place for flowery writing.
Web users prefer concise, 2-3 sentence sections, with topic headers, so they can scan for the information they need. Use bullet or numbered lists to focus the eye on specific points.
A question-answer format is user-friendly, so create FAQs—Frequently Asked Questions—pages. Add information that might be needed when the school is closed.
6. USE GRAPHICS WISELY
A school library website filled with images can have charm and impact, but they can overpower the viewer. Use graphics to enhance the theme and identity of the website, and bring clarity to content. There are 3 types of images we can use on webpages: GIF, PNG, and JPEG.
- GIFs (Graphics Interchange Format) are clipart-type images. Some are animated by a string of movements which cycle continually, or cycle once and freeze on a single image.
A single animated GIF at the top of a page punctuates a theme and adds a bit of whimsy. When the visitor scrolls down, animation scrolls off the window, so a viewer is not distracted while reading. On navigation pages with little text, we can use more animated images because the viewer spends too short a time on the page for movement to become annoying.
linebreak - PNG (Portable Network Graphics) was created as a replacement for GIF and supports a wider range of colors. It’s the most widely used format on the Internet.
linebreak - JPEG images (Joint Photographic Experts Group) are typically photographs, with subtle shading and blending rather than crisp lines.
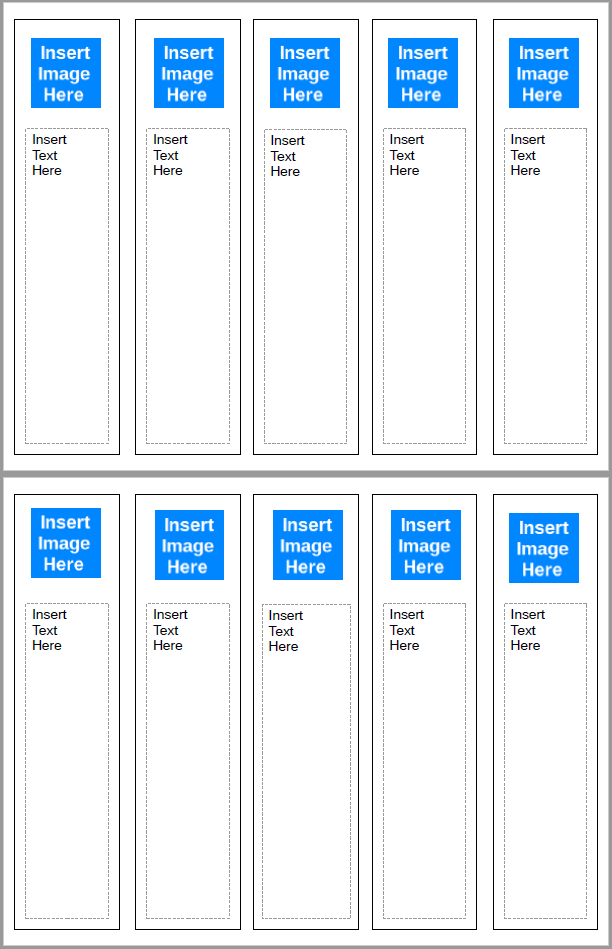
Size of Images
click to enlarge
Icons are small GIF or PNG images, about 24-32 pixels square. Visually descriptive icons can represent various links, especially if the icon is carried through to the page. Intuitive icons, such as arrows, help navigation when used consistently throughout a site (but always provide text links at the bottom of a page for accessibility by the disabled).
Digital camera photographs can enhance content, but remember that school district access may be faster than that of a visitor. Photos that display quickly on our workstation may load slowly for visitors, and several on a page can take much longer than viewers want to wait. (Average wait-time is 10 seconds before clicking away.) For faster loading, use an image editor to reduce the file size and limit large photos to 1 or 2 per page.
For better page balance, we can change the viewing size of an image. A large image can easily be reduced, but maintain the aspect ratio to avoid distorting the image. Avoid enlarging small images, which causes blurring and pixelation.
Placement of Images
Where we place images on a webpage can enhance or undermine a page. A right-facing graphic looks better on the left side of a page, and a left-facing graphic looks better on the right side of a page. Use an image editor to flip an image for better orientation.
Webpages are more 3-D than printed pages. We unconsciously experience gravity, and our senses are jarred by composition that ignores it. Place weightier graphics further down the page than lighter ones or balance them with heavy text areas.
Pages are often longer than a single window, so if a webpage looks odd, try rearranging text areas, graphics, and empty space for better balance within each window.
Include ALT tags for every image
What are ALT tags? ALT stands for “alternative text” and is part of the HTML that displays an image on a webpage. Use a descriptive phrase to identify the picture, like Westside Middle School Eagle Mascot.
ALT tags serve viewers using audio screen readers or braille displays. Without ALT tags, images are shown as the word “image” so a disabled visitor doesn’t know what is displayed. When the image is a link to another webpage, a disabled visitor is at a particular disadvantage if no ALT tag is provided–they don’t know what the link is or where it will take them.
We can also use ALT tags to increase our site’s identity with search engines. For example, with a school logo at the top of the page, incorporate the school motto or some special recognition or award: “Westside Middle School—A State Recognized Mentor School where every child will succeed.”
FOR YOUR SCHOOL WEBSITE’S CONTINUED SUCCESS
Keep the school library website current. Remove dead links and outdated information. Create a discussion forum that invites users to interact with us and each other. Periodically, add a survey to invite reader feedback about the school library and about the website.
We can also embed various features and media in our webpages to make the site more attractive and useful. For some ideas, read my post An “Embedded” School Library Website.
Our school library website is our virtual library, and it’s seen by the entire world. Build it wisely and it is a valuable information source for our school community.
For more in-depth information about creating a website, visit Ms. P’s Web Design Tutorial.
![]()